User & Role Management
Role based access restricts user access to ReleaseOwl application features, based on a user’s role within an organization.
Access to the ReleaseOwl application can be limited to specific tasks such as the ability to:
- View, create, or modify a credential, environment, transport, build, and release pipelines.
- View or execute build and release pipelines
Administration View
There are two types of views available – Project View and Administration View.
Administration View is available only for admin users that are created during the provisioning of the customer.
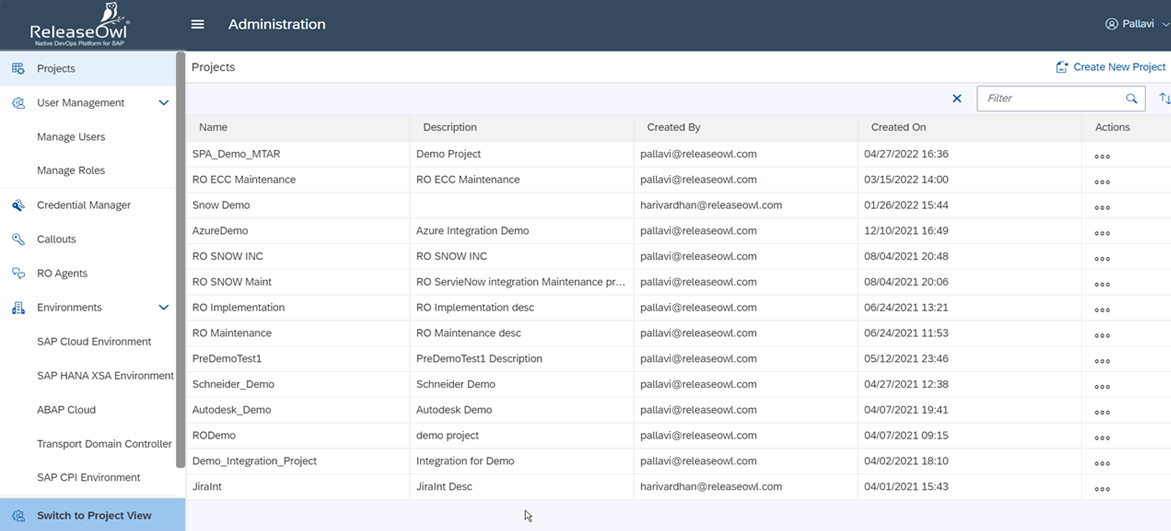
Upon logging in to ReleaseOwl as an admin user, click on the Administration menu link available at the bottom left-hand side of the Home page.
On clicking Administration, the user gets to see all the available list of projects pertaining to the client in use.
Project View
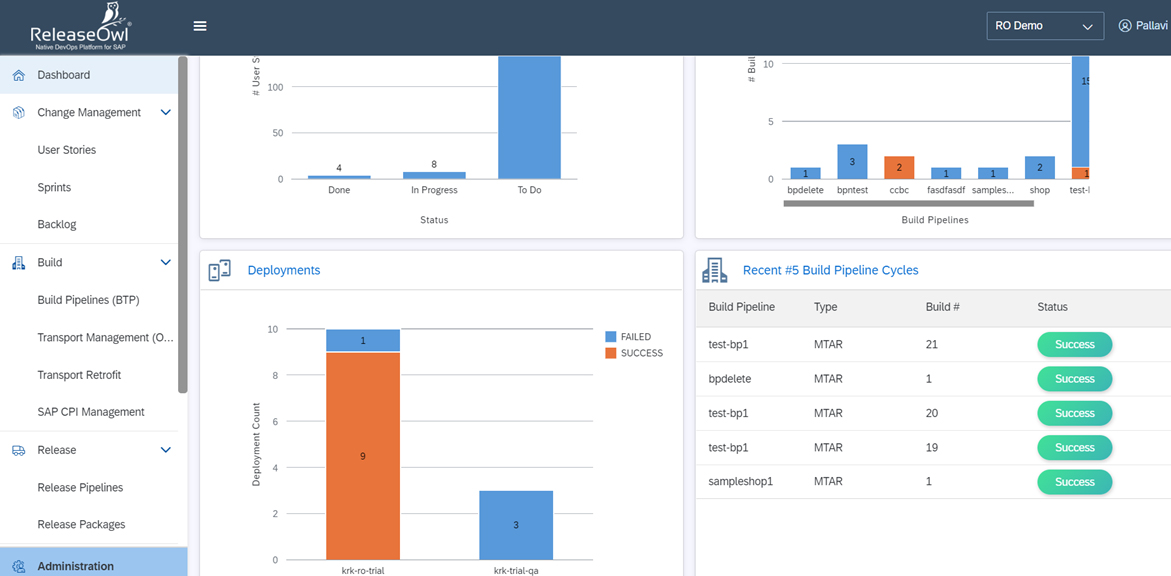
Click Switch to Project View on the left-hand bottom corner of the page.
Dashboard page of the selected project is displayed.
Roles
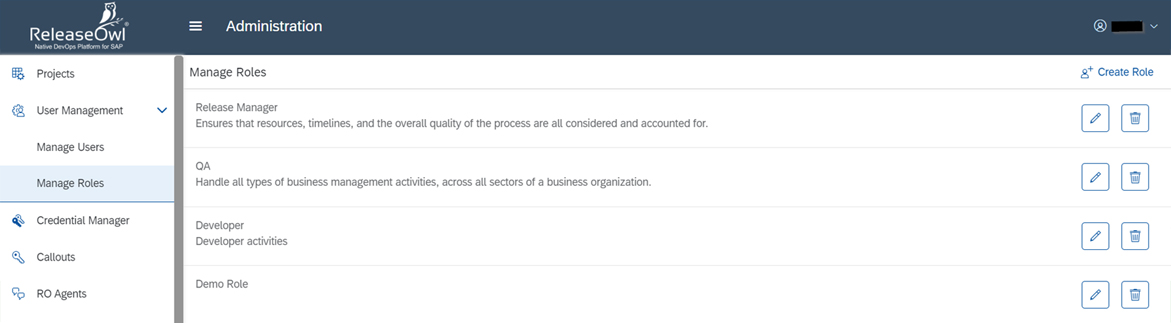
Click Manage Roles under User Management in the Administration view. The following screen is displayed which displays all the list of available roles:
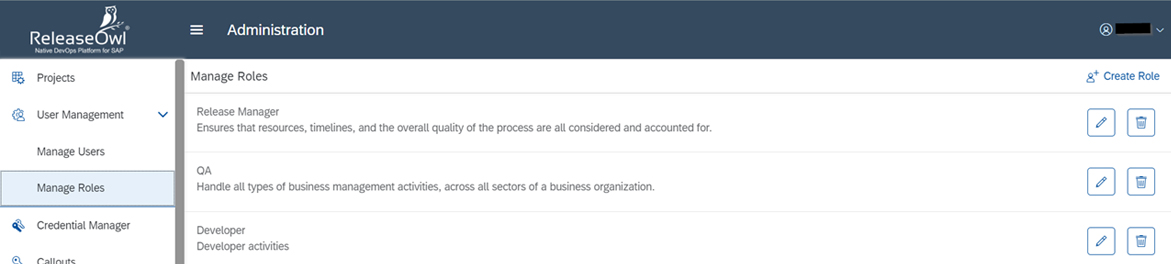
Create Role
To create a new role, click on Create Role link available on the top right-hand corner.
The following screen is displayed:
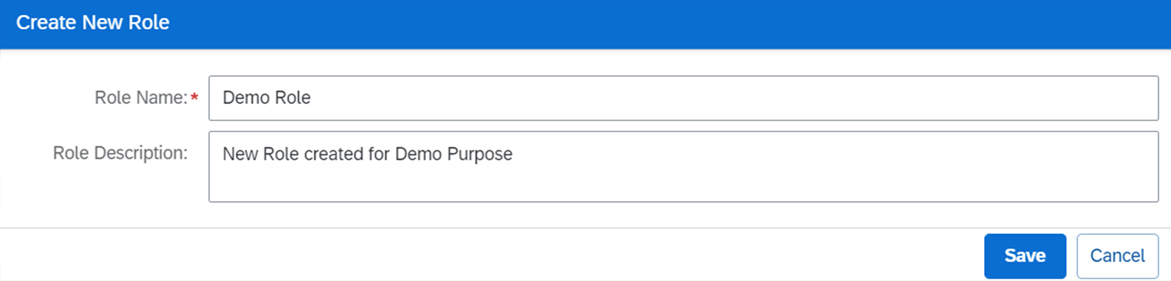
Fill the required details and click save. The new role gets created and gets displayed in the available list of roles in the Manage Roles screen.
Edit Role
The role actions or privileges can be set for a given user role by clicking the edit icon as shown below:

On clicking Edit, the following screen is displayed.
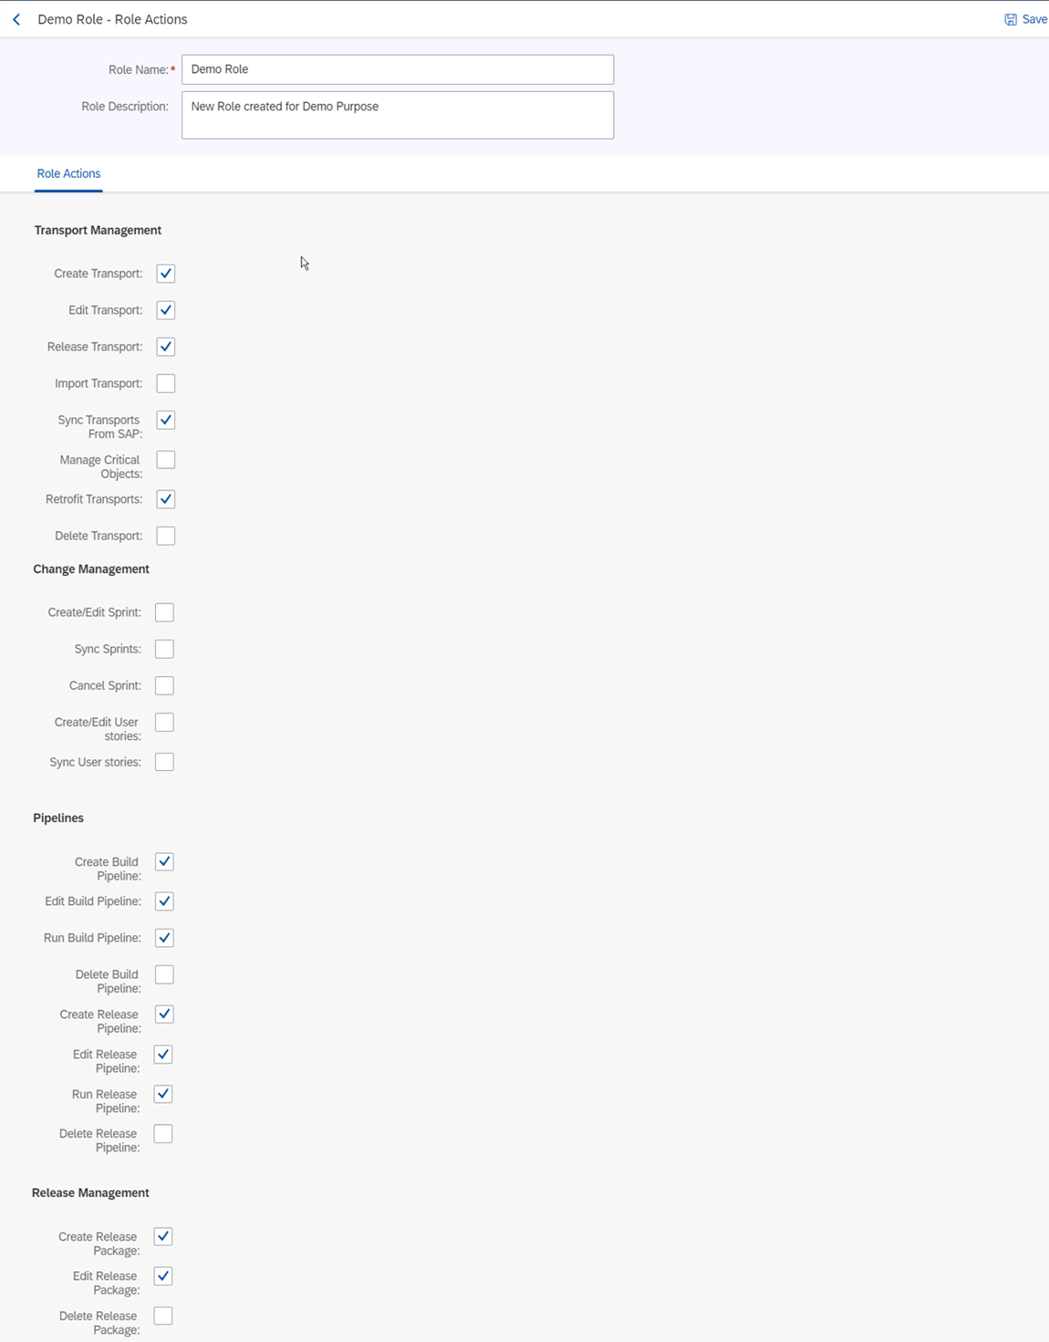
Select the required permissions for each of the sections – Transport Management, Change Management, Pipelines, and Release Management as required based on the user role selected and save the changes.

Delete Role
Any role created can be deleted by clicking the Remove icon
Users
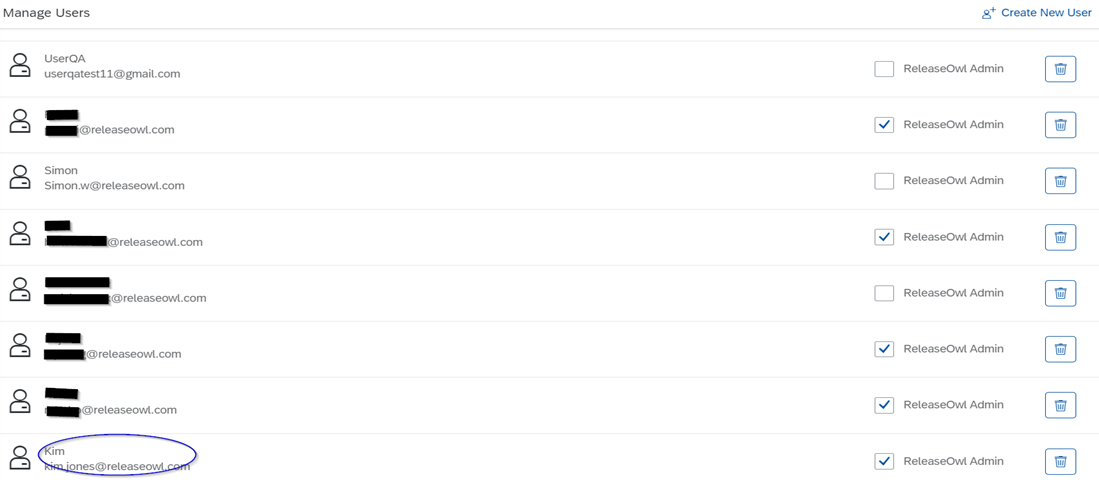
Click Manage Users under User Management in the Administration view. The following screen is displayed which displays all the list of available roles:

The number of User Licenses and Admin Licenses available are shown in this screen along with the users that were already added to access the selected project.
Create User
To create a new user, click on Create User link available on the top right-hand corner.
The following screen is displayed:
Fill in the required details and click save. The new user gets created and gets displayed in the available list of users in the Manage Users screen.

The created user can be made admin by selecting the ReleaseOwl Admin option.
Delete User
Any user created can be deleted by clicking the Remove icon