CPI Environment Registration
To register SAP CPI Environment:
1. In Environments, go to SAP CPI Environment.
2. A list of registered CPI environments is displayed in this page.
3. Click Register SAP CPI Environment.
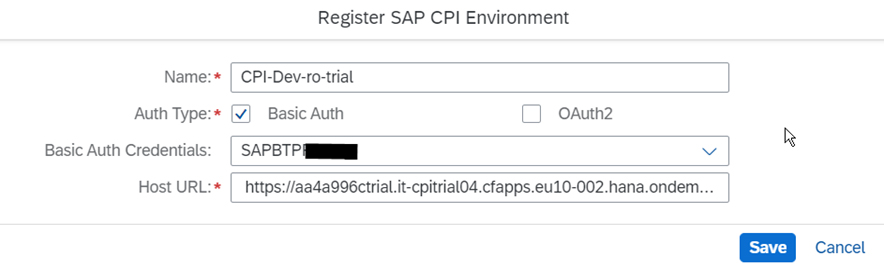
4. The following page is displayed on selecting Basic Auth as the Auth Type.
Note: Basic Auth Type is selected only when the already existing ValueMaps or IFlows are to be edited.
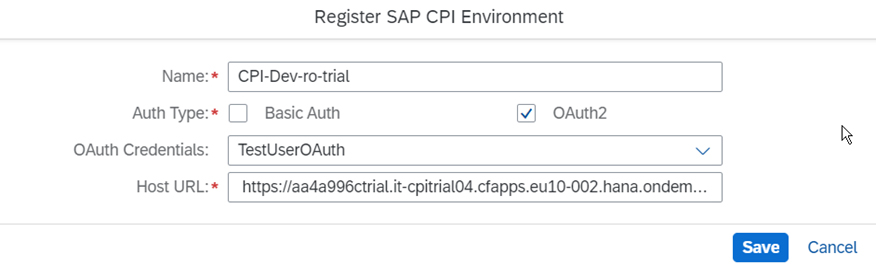
5. The following page is displayed on selecting OAuth2 as the Auth Type.
Note: OAuth2 Type is selected only when new ValueMaps, IFlows are to be created or any new artifacts are to be uploaded or Synchronization of CPI Artifacts etc., are to be performed.
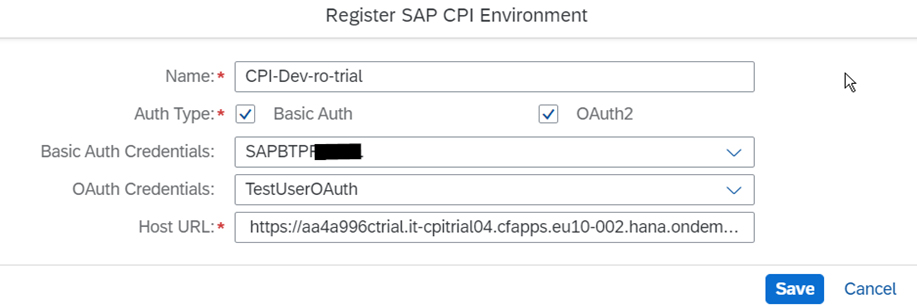
6. The following page is displayed on selecting both Basic Auth and OAuth2 as the Auth Types.
Note: Basic Auth and OAuth2 Types are both selected only when needed as per the workflow used for creating/uploading/syncing the artifacts or IFlows/ValueMaps.
7. Fill in the required details:
| Name | Enter a name for your reference |
| Auth Type | Select either Basic Auth or OAuth2 or both on need basis |
| Basic Auth Credentials | Select the Basic Auth Credentials registered with ReleaseOwl. |
| OAuth Credentials | Select the OAuth2 Credentials registered with ReleaseOwl. |
| Host URL | Enter the host URL of the Integration Suite environment. |
8. Click Save to register the environment. The registered environments are displayed.

9. Click on the required environment to view the details.
10. Click the edit icon to edit the registered CPI Environment.
11. Click the delete icon to delete the required environment.
Adding Integration Suite Environments to the Project
For artifacts to load in SAP CPI Management page, the Integration Suite environments must be registered in Project Settings in ReleaseOwl.
To register SAP Integration Suite environment:
1. Go to Projects drop down at the top right corner and click Project Settings.
2. In Project Settings, go to Environment.
3. The following screen is displayed.
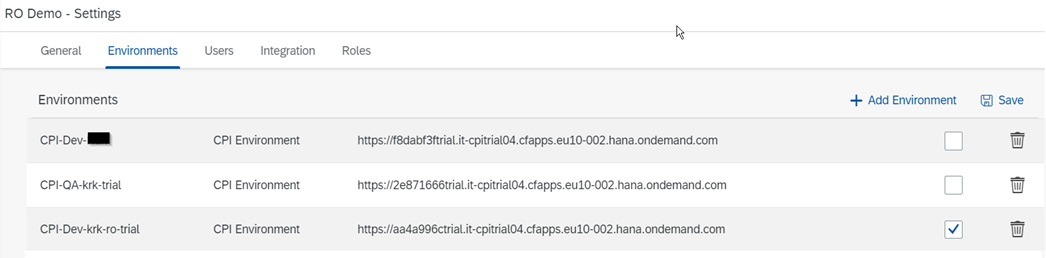
4. Click Add Environment to add a new environment in ReleaseOwl.
5. In the subsequent screen, choose the required environment from the list displayed by selecting Source. Only the artifacts with source are synced to ReleaseOwl.
6. The environment is added to the corresponding project in ReleaseOwl.
7. Click Permissions (under Users tab in Project Settings), to add users that can access (read or deploy to) the registered CPI environment.
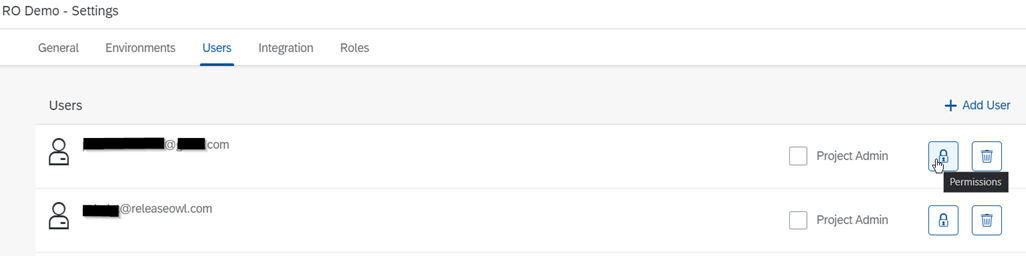
Click Permissions. The roles that are assigned to the selected user are seen.
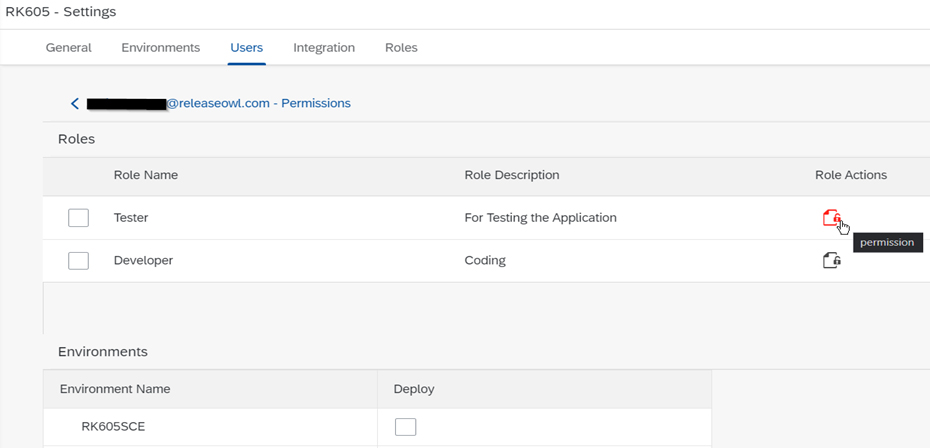
On clicking Permissions in the above screen, one can know the actions that the user role can perform each for the available features such as Transport Management, Change Management, Pipelines, Release Management.